How to Fix a Tough, Chewy Pizza Crust
A great pizza crust can be crisp, airy, tender or pleasantly chewy depending on the style, but it should never feel tough or leathery. Tough crust usually comes from low hydration, too much flour during shaping, flattening dough with a rolling pin or baking too long at a low temperature. Each of these is easy to change, and small adjustments to the recipe and technique make a noticeable difference by the next pizza night.
Increase hydration slightly
Low hydration dough, with relatively little water compared with flour, bakes into a denser and tougher crust. More water creates more steam inside the dough as it bakes, which inflates the air pockets and gives a lighter, more open crumb with a tender bite.
Increase water in small steps, such as 2-3% of the flour weight at a time, and note how the dough handles and bakes. Higher hydration dough is stickier and needs gentler handling, so wet your hands or use a bench scraper rather than adding lots of extra flour to cope with it.
Choose flour for your oven
Very high-protein bread flours develop strong gluten networks, which can make crust noticeably chewy, especially when baked for a long time in a home oven. That chew suits New York-style pizza, but it can feel tough in thinner styles or when the bake stretches beyond ten minutes.
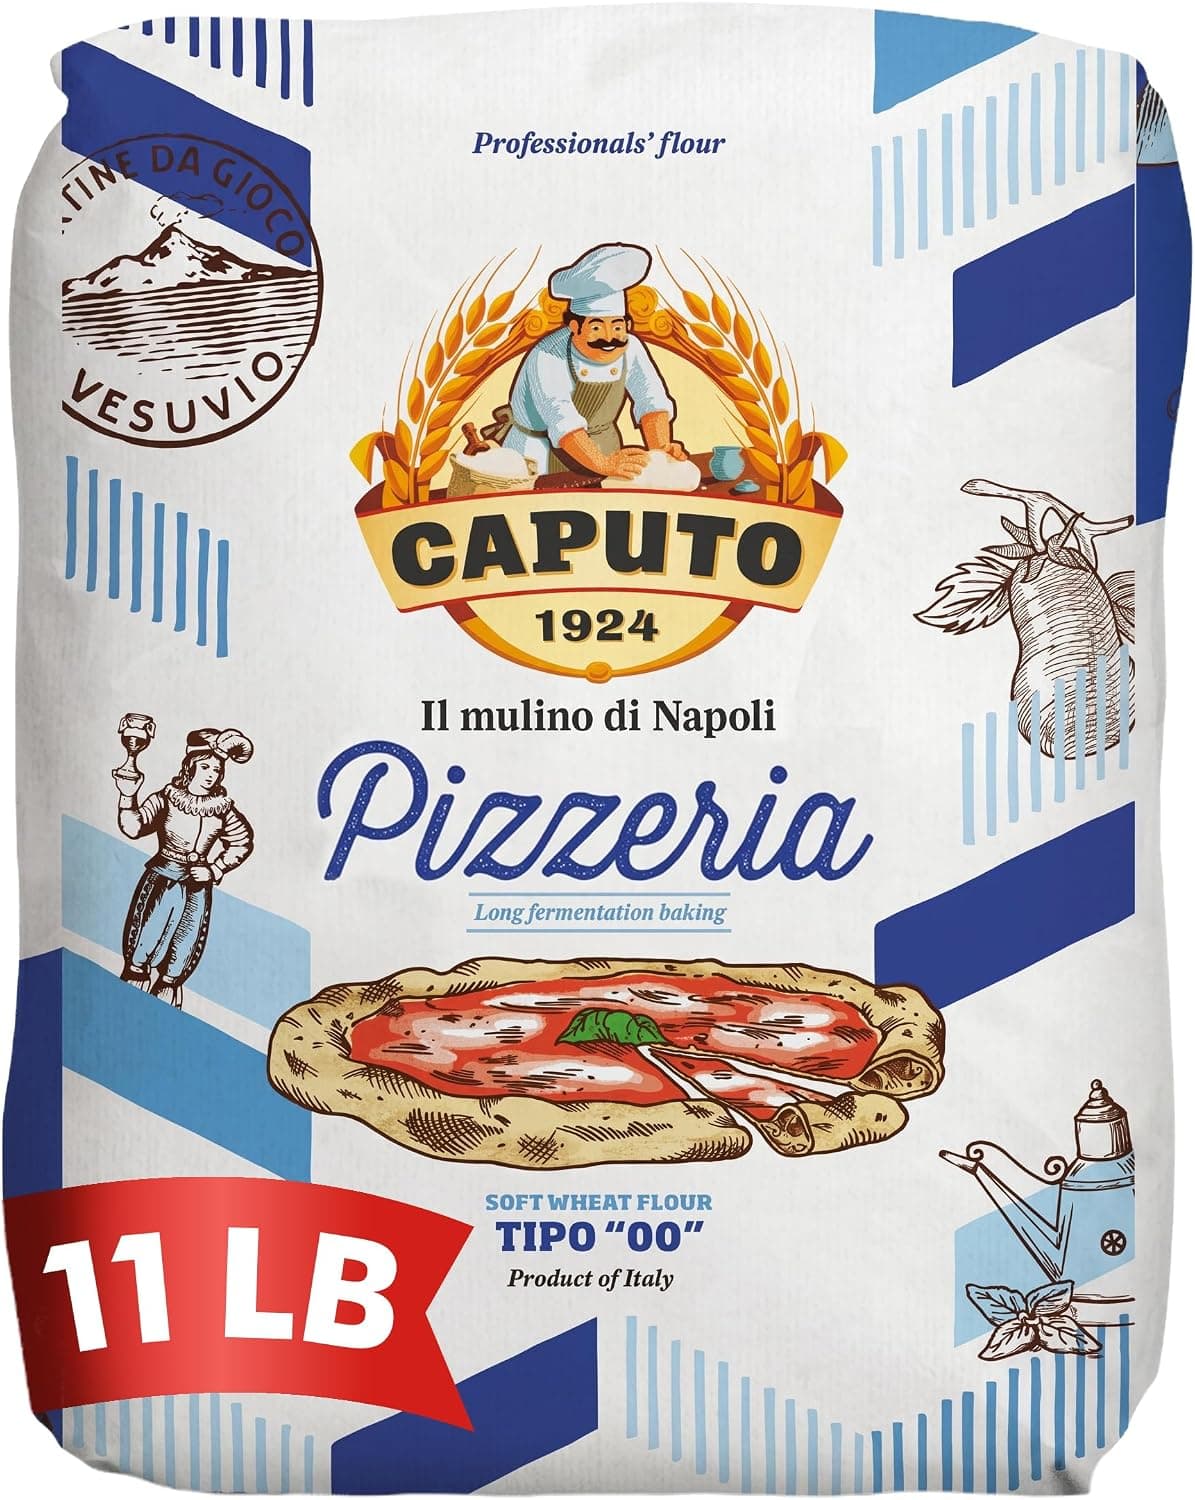
Italian 00 pizza flour is milled for very hot ovens and short bakes. In a home oven at 500°F (260°C) it can bake pale, dry and leathery, so many home bakers get better results with bread flour or a blend of bread and all-purpose flour, saving 00 flour for portable ovens above about 800°F (425°C).
Avoid excess bench flour
Working lots of extra flour into the dough while shaping dries the outer layer and creates a tough, floury skin after baking. It also changes the hydration of the dough you carefully measured, especially when you are making several pizzas in a row.
Use just enough flour or semolina on the counter and your hands to stop sticking, and dip the dough ball in a bowl of flour rather than showering the counter. Brush or shake off loose flour before launching, since it scorches on hot stones and leaves a bitter, dry surface.
Stretch by hand instead of rolling
A rolling pin presses out the gas bubbles that fermentation worked hours to build, leaving a flat, dense sheet that bakes like a cracker or turns tough. Hand stretching keeps those bubbles in the rim, which is where the airy, tender texture of good crust comes from.
Press the dough from the centre outward with your fingertips, leaving a border untouched for the crust, then lift and let gravity stretch it over your knuckles. If the dough keeps springing back, cover it and let it rest for ten to fifteen minutes so the gluten relaxes before trying again.
Ferment long enough
Underproofed dough has not produced enough gas or broken down enough starch and protein, so it bakes dense and chewy. Dough balls should look puffy, feel soft and airy, and slowly spring back when poked with a floured finger.
Cold fermentation in the refrigerator for one to three days develops flavour and makes dough more extensible and tender. Take cold dough out one to three hours before baking, depending on room temperature, so it warms up and stretches easily without tearing.
Bake hotter and shorter
A long bake at a moderate temperature dries out the crust before it has a chance to puff and brown, which is one of the most common causes of leathery home oven pizza. The goal is to set the outside quickly while the inside stays moist.
Preheat the oven and a pizza steel or stone for at least 45 minutes at the highest temperature your oven allows, and use the broiler at the end if the top needs colour. Remove the pizza as soon as the rim is browned and the cheese is bubbling rather than leaving it in for extra minutes.